
My Show Space
Posted: May 8, 2016 Filed under: Field Leave a commentFor my show space i had chosen a plain white cube, after trying the reflections on different coloured surfaces such as black and green and other colours i found white to give the crispest reflection of what i wanted to achieve. With help i erected an 8 x 8 x 8ft cube, one side has a 4ft wall leaving a void to which i fixed a curtain, this is a blackout curtain and is also white in colour.
After Litres of paint i and my family and many others managed to get the walls flat and white, i made an 80 x 80mm skirting, this was designed to hide any cables that came down from the lights and power supplies too. I hung 3 floating shelves from ikea on the wall, the fact that the lights weigh very little is a bonus as i do not think they are designed for weight.
After completing the installation of the lights and the plinth in the middle for the big cube and making sure everything was functioning ready for the four o’clock deadline. There were two and a half hours to spare so i decided to extend the cables around the base to a pre made up Arduino mounted on a board, this would provide the required fading programme to control the lights with after some direction from Jon i had managed to get everything ready for him to upload a small program to control the lights, i plan to learn a lot more about programming Arduino next year as i feel it has a massive amount of uses.below is the desired effect via video and some pictures of the space.

Where do i see my work? – Commercially.
Posted: May 8, 2016 Filed under: Field Leave a commentI would like to see my lamp projectors breathing life into reception areas foyers of hotels and offices they can be multiplied in size or equally made smaller to suit. Below you can see them in an office setting, they could be used to subtly light a featured wall or to make a board room less boring and white, i have spent a lot of time in and around these patterns over the last few months, i have found them to be really quite soothing and relaxing, i believe further research needs to be done in this area, i have a professional masseuse using one in her complimentary therapies suit and will start to receive feedback soon.
The bottom two images are a moc up of upcoming designs and how they can be used in a commercial setting, but broken down individually would also work in a domestic situation.
. 


Where do i see my work? – Industrially.
Posted: May 8, 2016 Filed under: Field Leave a commentBelow are some of the stainless steel lamps these are in the flat pre assembled form, i believe these could be used to light external areas of buildings either for specific events or on a more permanent basis.
These are polished and brushed versions and will both be suitable for external use, the only change would be the rating of the LED.


Where do i see my work? – Domestic
Posted: May 8, 2016 Filed under: Field Leave a commentI see my work used both domestically and in industrial and commercial, below are some examples of where i see them being used.
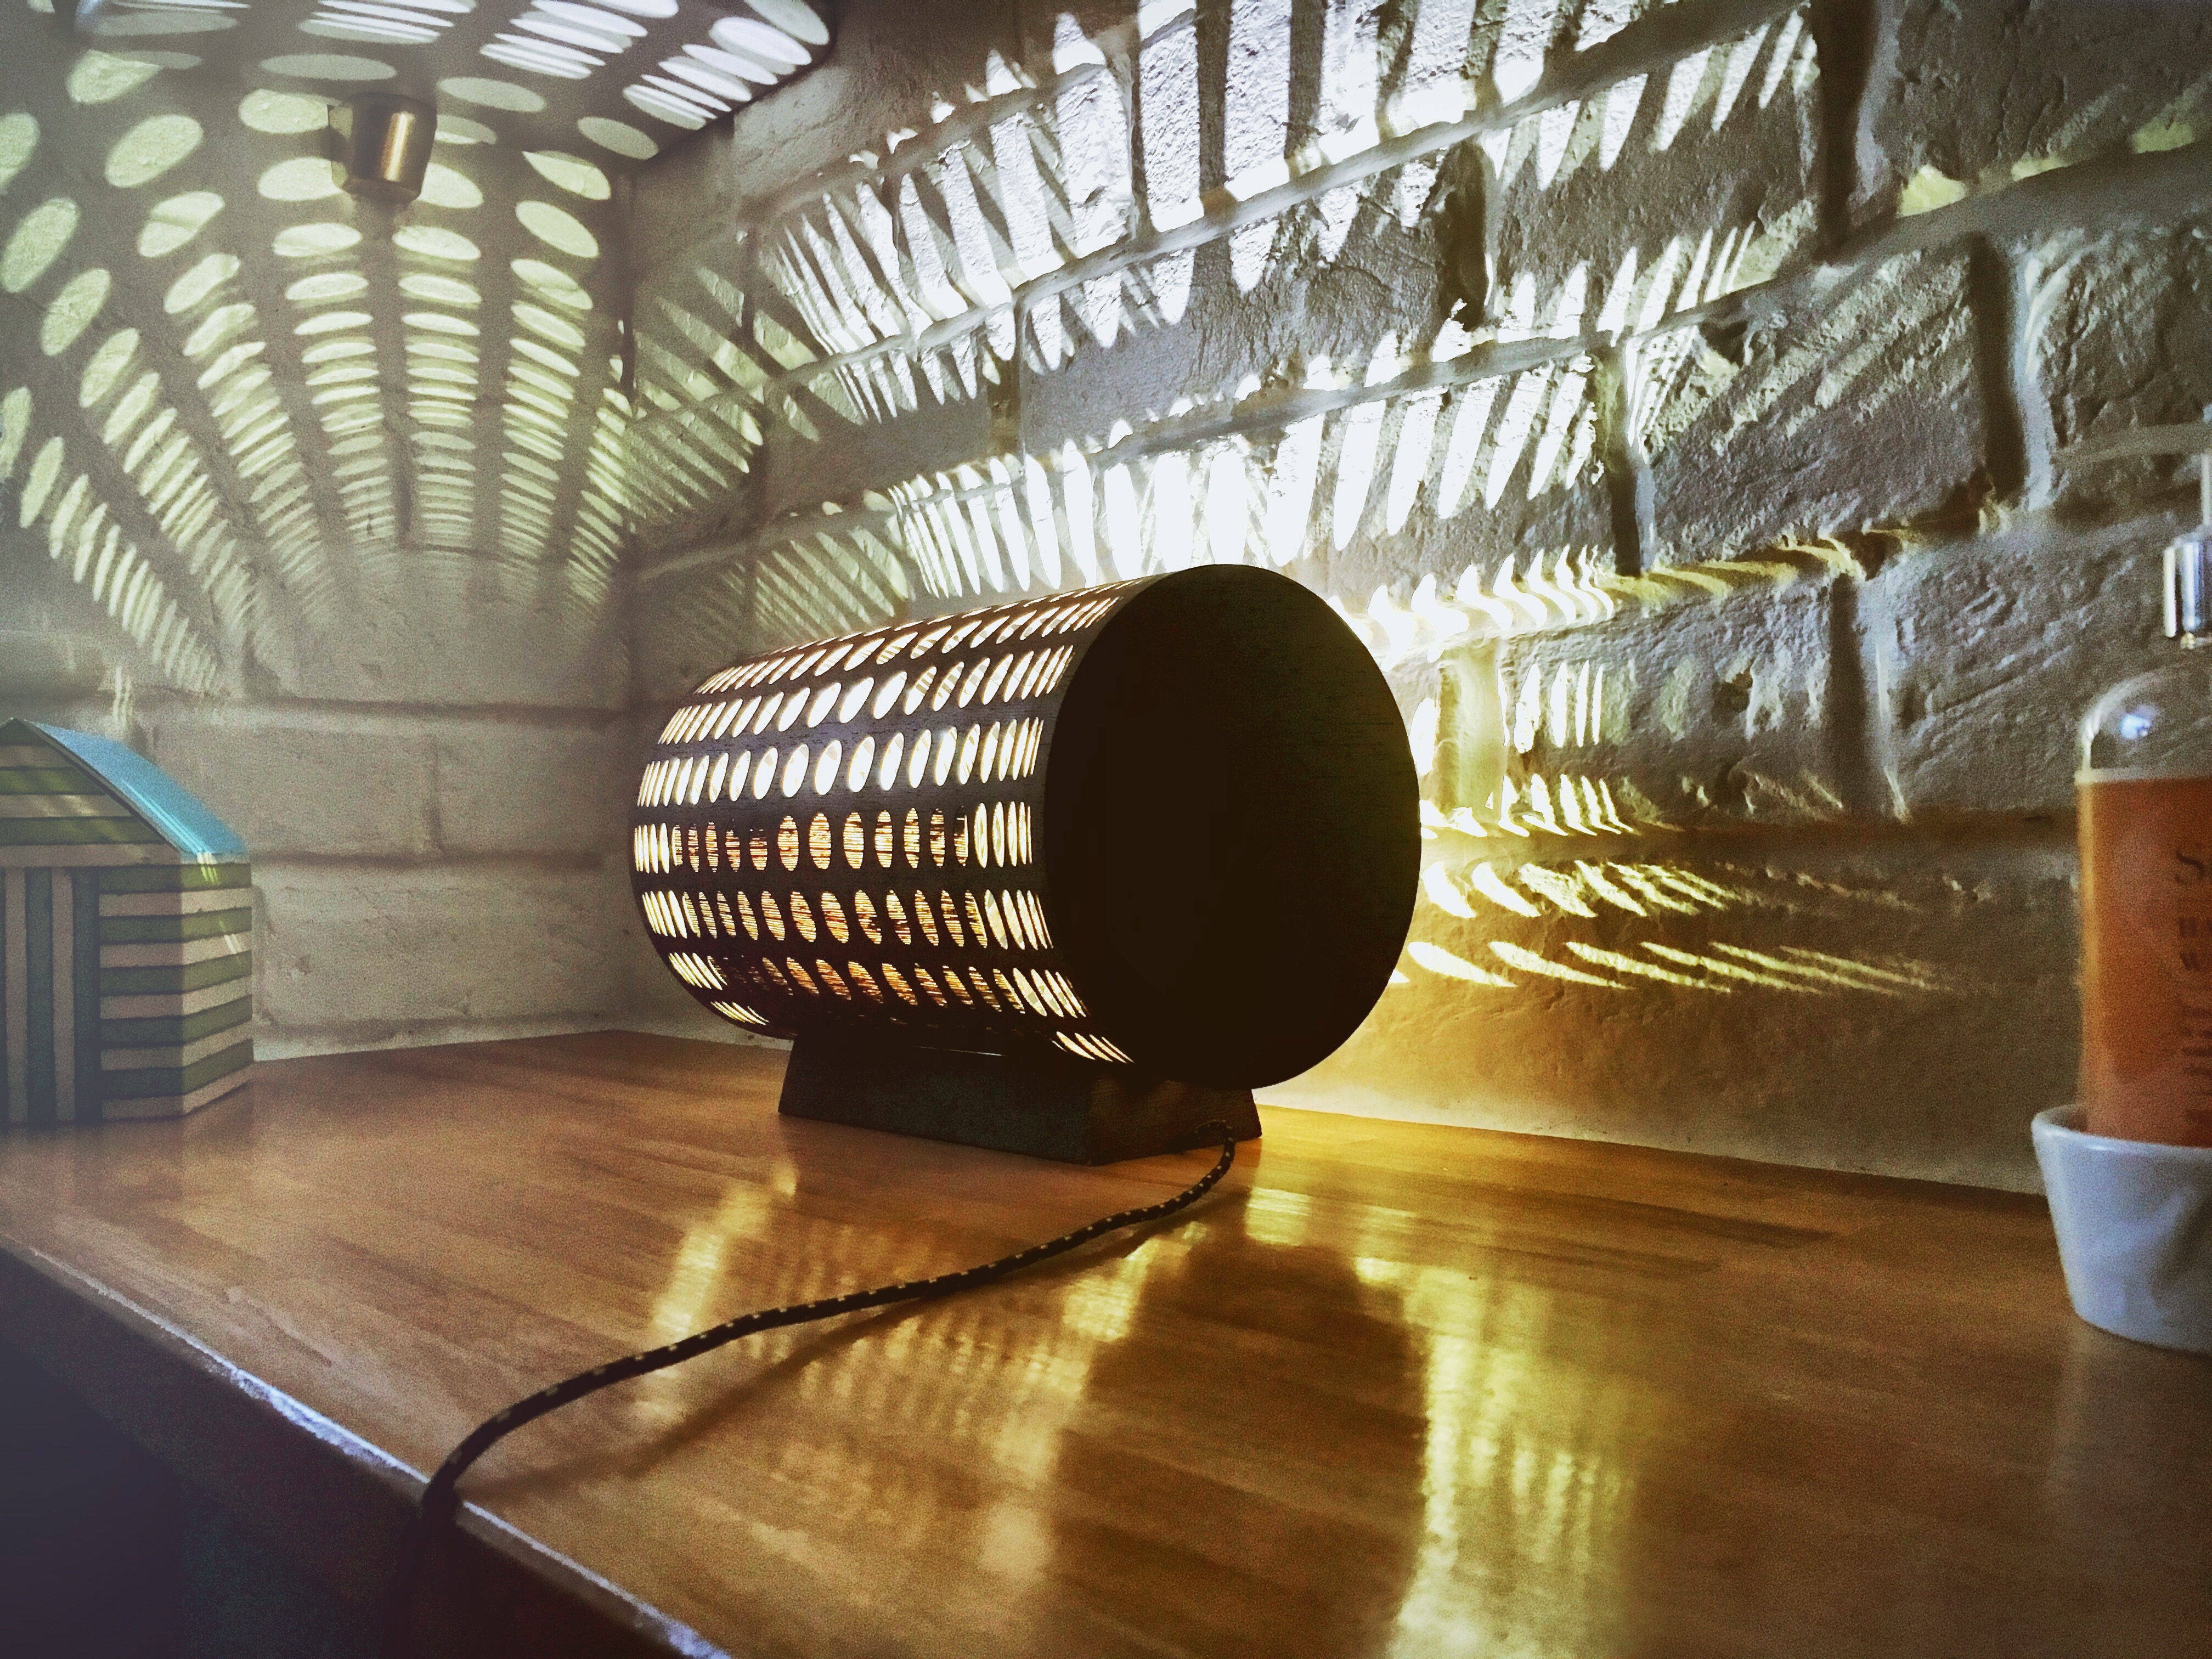
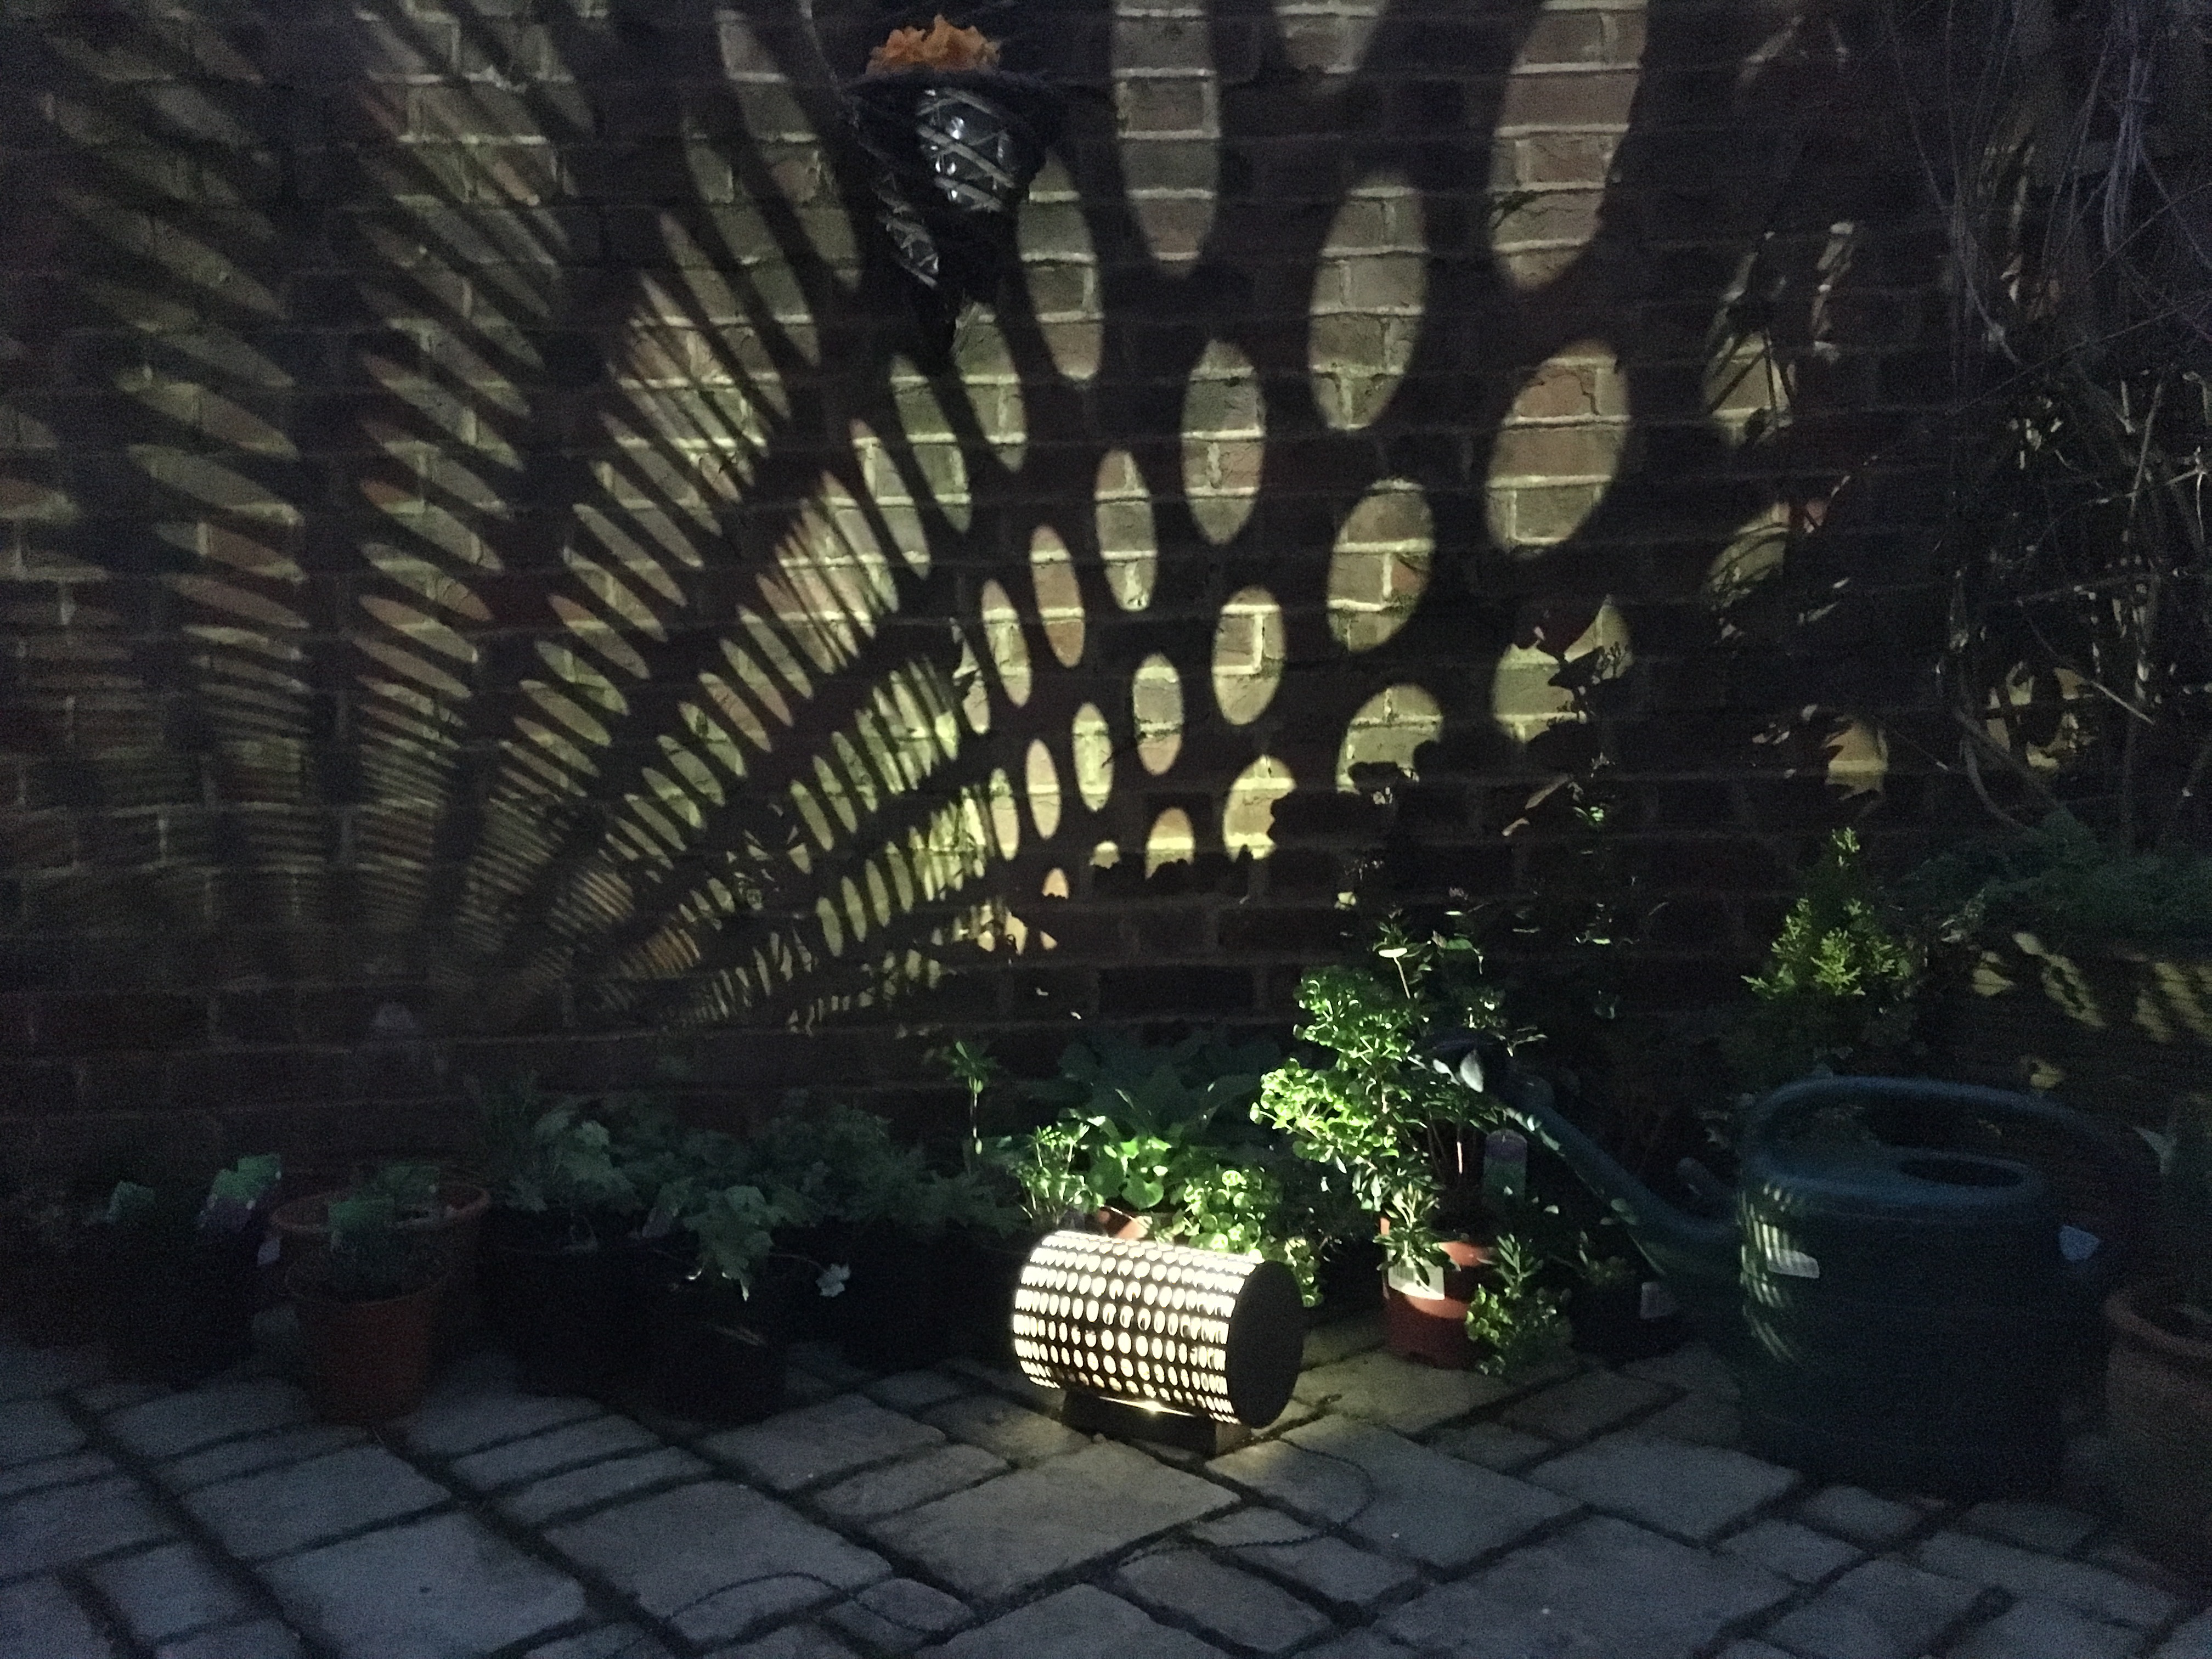
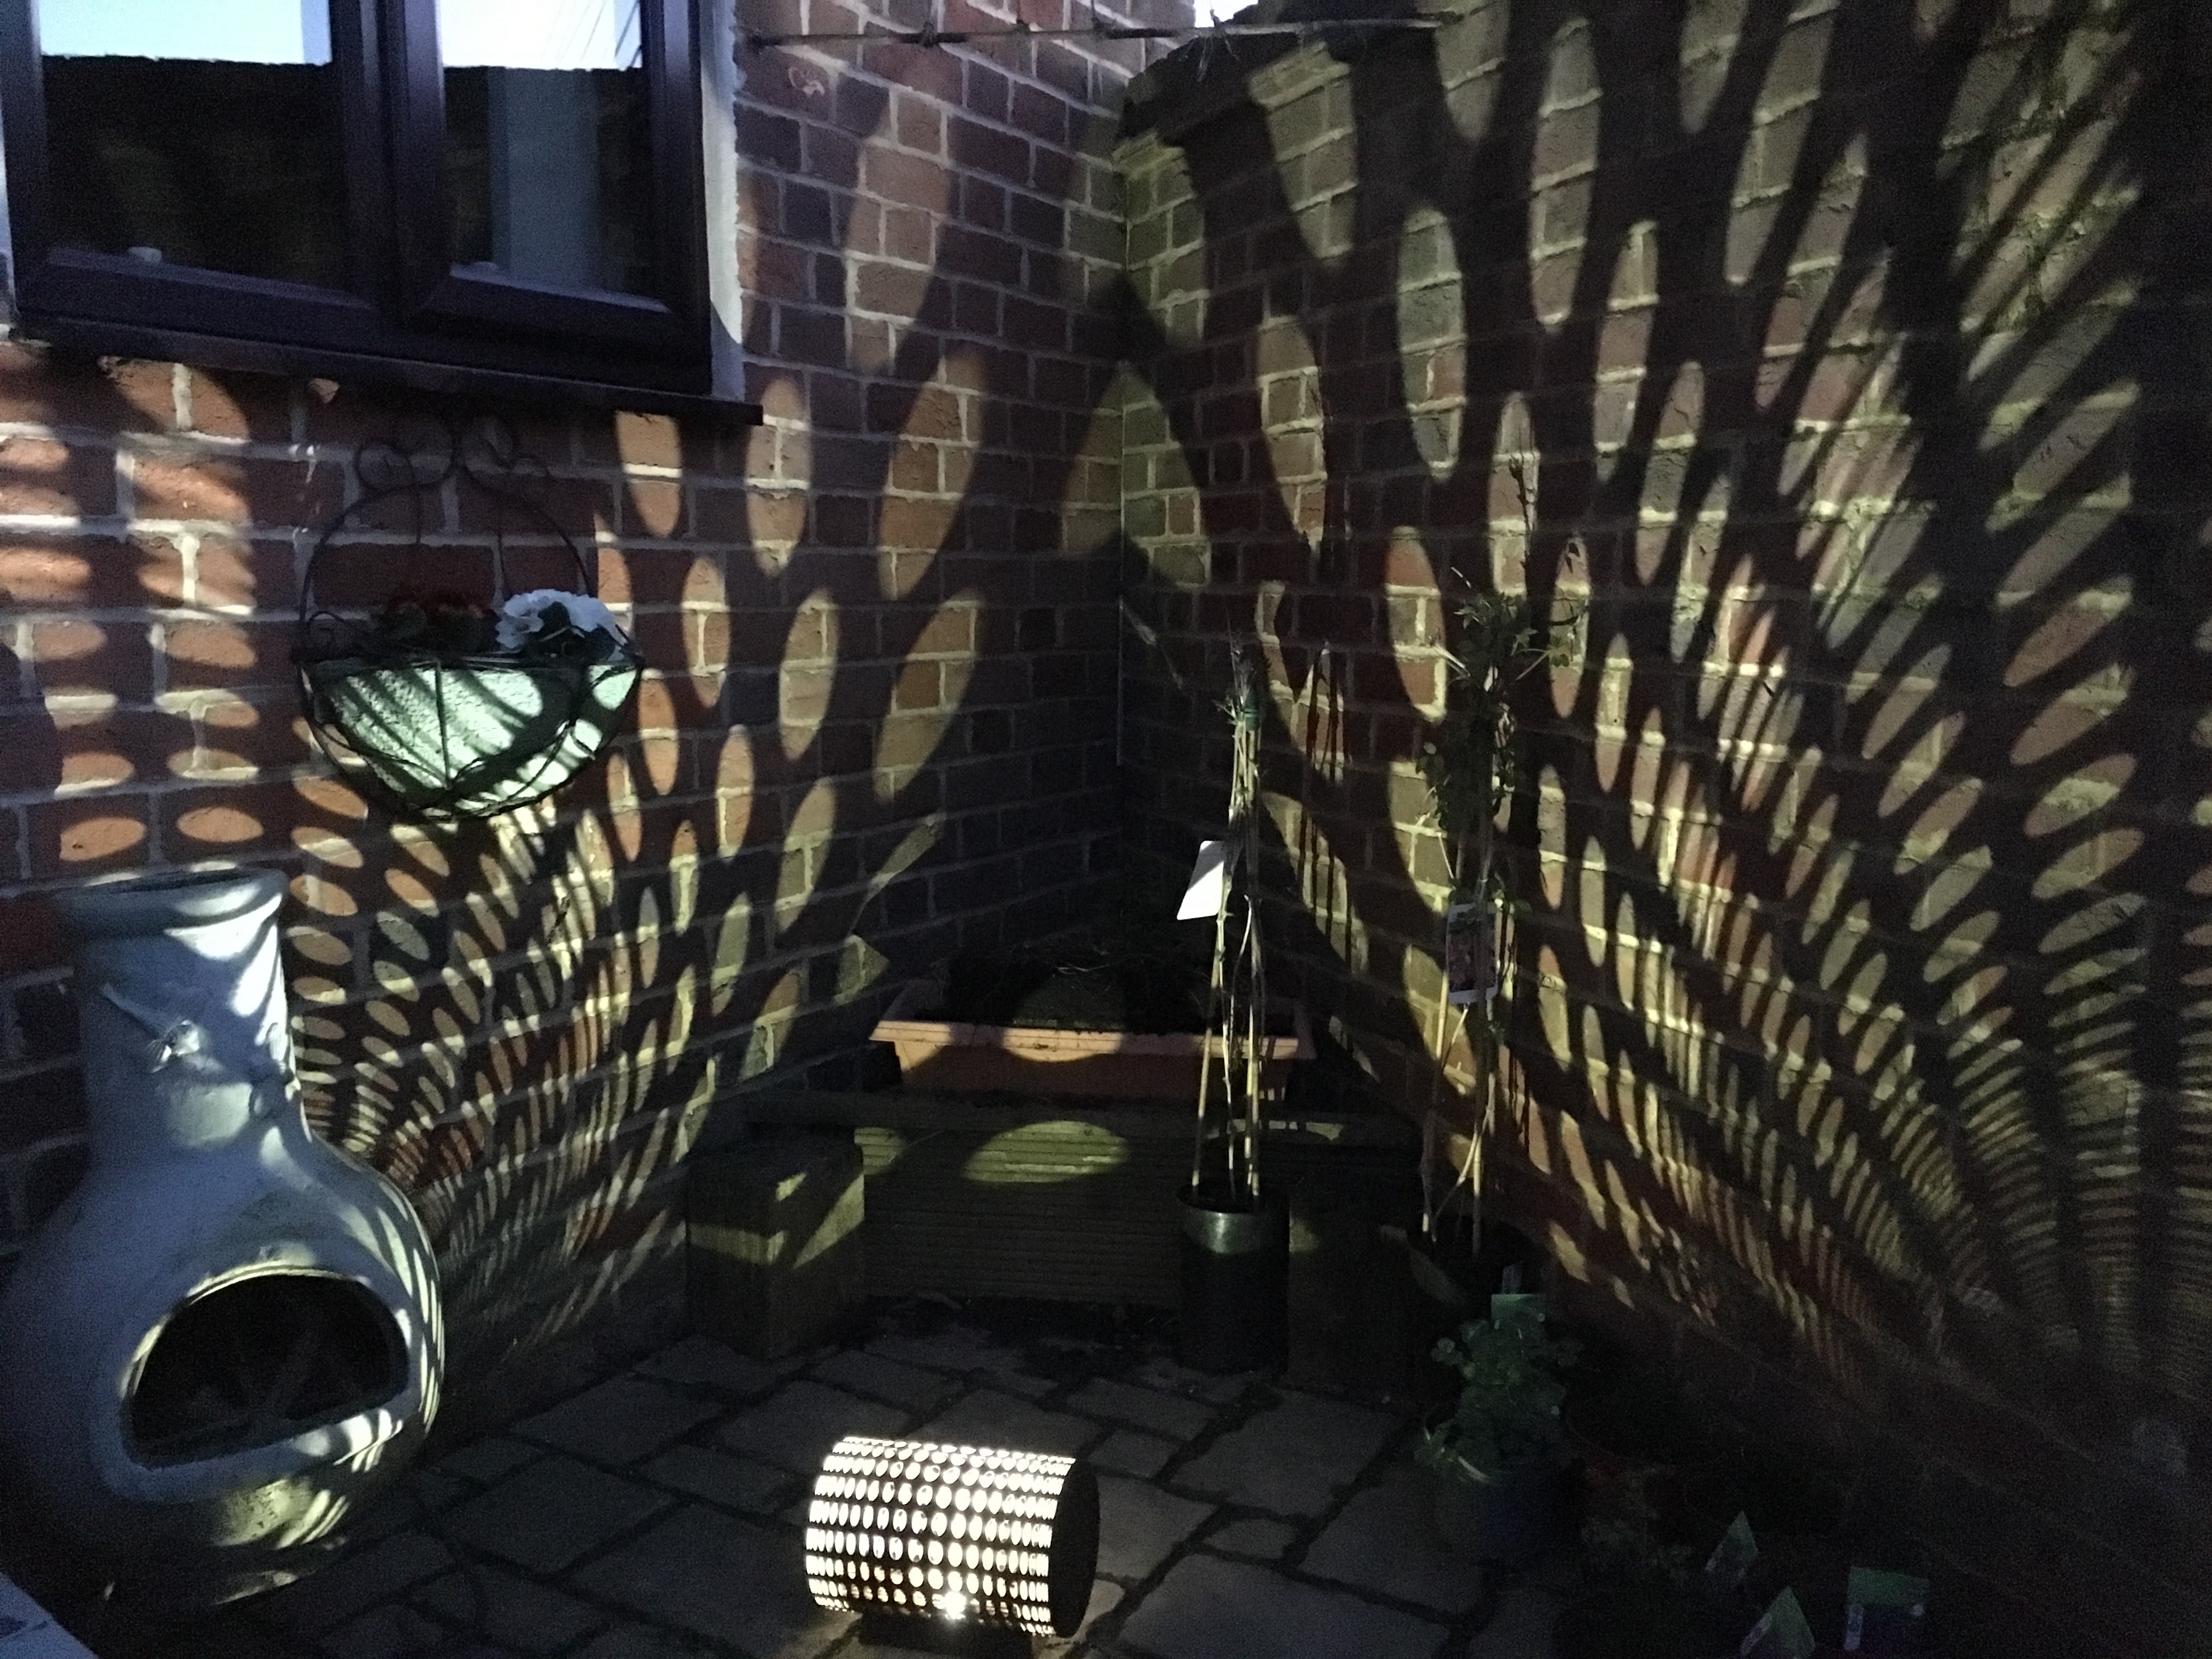
Firstly domestically, i believe they add depth to a room and with more than one pattern to choose from, after purchasing the base the shades can be bought individually giving you options all year round. Also see below the use of the lamp in a garden setting, i have commissioned a stainless steel version to be made to trial this and this should be completed for the final show, however the proof it works shows below in the veneer version.



Trying other Shapes and Forms
Posted: May 8, 2016 Filed under: Field Leave a commentTrying various different end shapes to see if it distorts the pattern, none of the forms tried made a huge difference but some were quite aesthetically pleasing and will be made into finished pieces in the future.
The shapes i tried were oval, square, circle and a circle with a slightly dented edge.
In these photographs you can see that there is a panel that extends slightly up one side, this would be applied to the domestic version of the lamp, where it is likely that they would be low down and the LED would be at eye level, the pattern is continued on this section and has been engraved, this leaves a pleasing mottled see through effect which diffuses the bright light.


The Squircle Screen
Posted: May 8, 2016 Filed under: Field Leave a commentThe Squircle aptly named due to the square at one end and the circle at the other, they are mirrored at each end in the same way as the lamps only they stand upright.
Firstly to the effect gained by these, earlier in the year i looked at moire the sheering effect caused when one pattern passes over another similar to that caused by net curtain. They have the optical illusion created by the pattern but what i thin i like the most about them is that as you look down a light or dark coloured one into one of the opposite colour below the mirror trick the mind into thinking you are looking through into the one below, you would then expect the same colour but of course you are merely seeing a reflection of the top section.
Are these an installation or are they a practical piece? On their own they are an attractive object and work even better in pairs, but i have tested them as a form of screen i can see them used within hotels or restaurants dividing areas where privacy is required but maintaining an attractive look rather than a solid wall.


Finished imaging of the Pipeline Lamps
Posted: May 8, 2016 Filed under: Field Leave a commentI love the final finished product, i am pleased with the outcome of the reflections and projections they cast, the reason i say reflections is due to the mirror depending on the angle and the pattern you can get up to 9 times the pattern reflection the wall.
There is very little loss in the effectiveness of the pattern and the addition of the mirrored ends creates the parabolic form on the wall when it is facing forward, this is something i looked at trying to produce earlier in the year.
I am slightly disappointed that these could not be fully functioning touch lamps for the show, but there is room to develop them further within Inc space next year.
Here is a preview of the finished lamps in my show space.


Refining the Pipeline
Posted: May 8, 2016 Filed under: Field Leave a commentThe addition of mirrors at either end firstly adds some much needed weight to the lamp as it was very light, but also as you can see below it creates a really effective optical illusion, bring it right back to the reason these all started from the op art and moire.

Below is the starflower pattern on the base this was to change later, the hole became much wider with 2 magnets to help locate the lamp into the correct place every time.

The Schematics
Posted: May 8, 2016 Filed under: Field Leave a commentBelow are the boards and the schematics these are now ready to send to china so i can buy effectively in bulk, they are for the touch lamp, which unfortunately due to my soldering abilities on my own made boards was a little touch and go, i am however confident that with the right correctly produced boards this can be achieved going into inc space next year, should i be selected.
Below is a video to show the process working.


Electrics and the challenges!!!
Posted: May 8, 2016 Filed under: Field Leave a commentSoldering the electric onto such a small hand made board is quite difficult, here we see the slightly easier LED solder.

The Resistor plate this reduces current and allows it to be powered by a 5v phone charger, but maintains the brightness


my first effort at soldering oddly enough this mess actually worked

As you can see when you de solder enough times ready to re solder you begin to improve

below is a syringe of liquid solder,

below is the reflow machine basically a giant toaster you apply the liquid solder to the correct areas apply the components swing the heating arm over and down, this then heats the board to 186 degrees which in turn melts the solder and adheres the parts much more effectively, see below images.


Testing the board with the programmed chip, the chip that i am using is the the AT Tiny 85 this is programmed via an arduino for my lamps i have chosen the function of touch on and off, this will also cycle through 3 levels brightness


